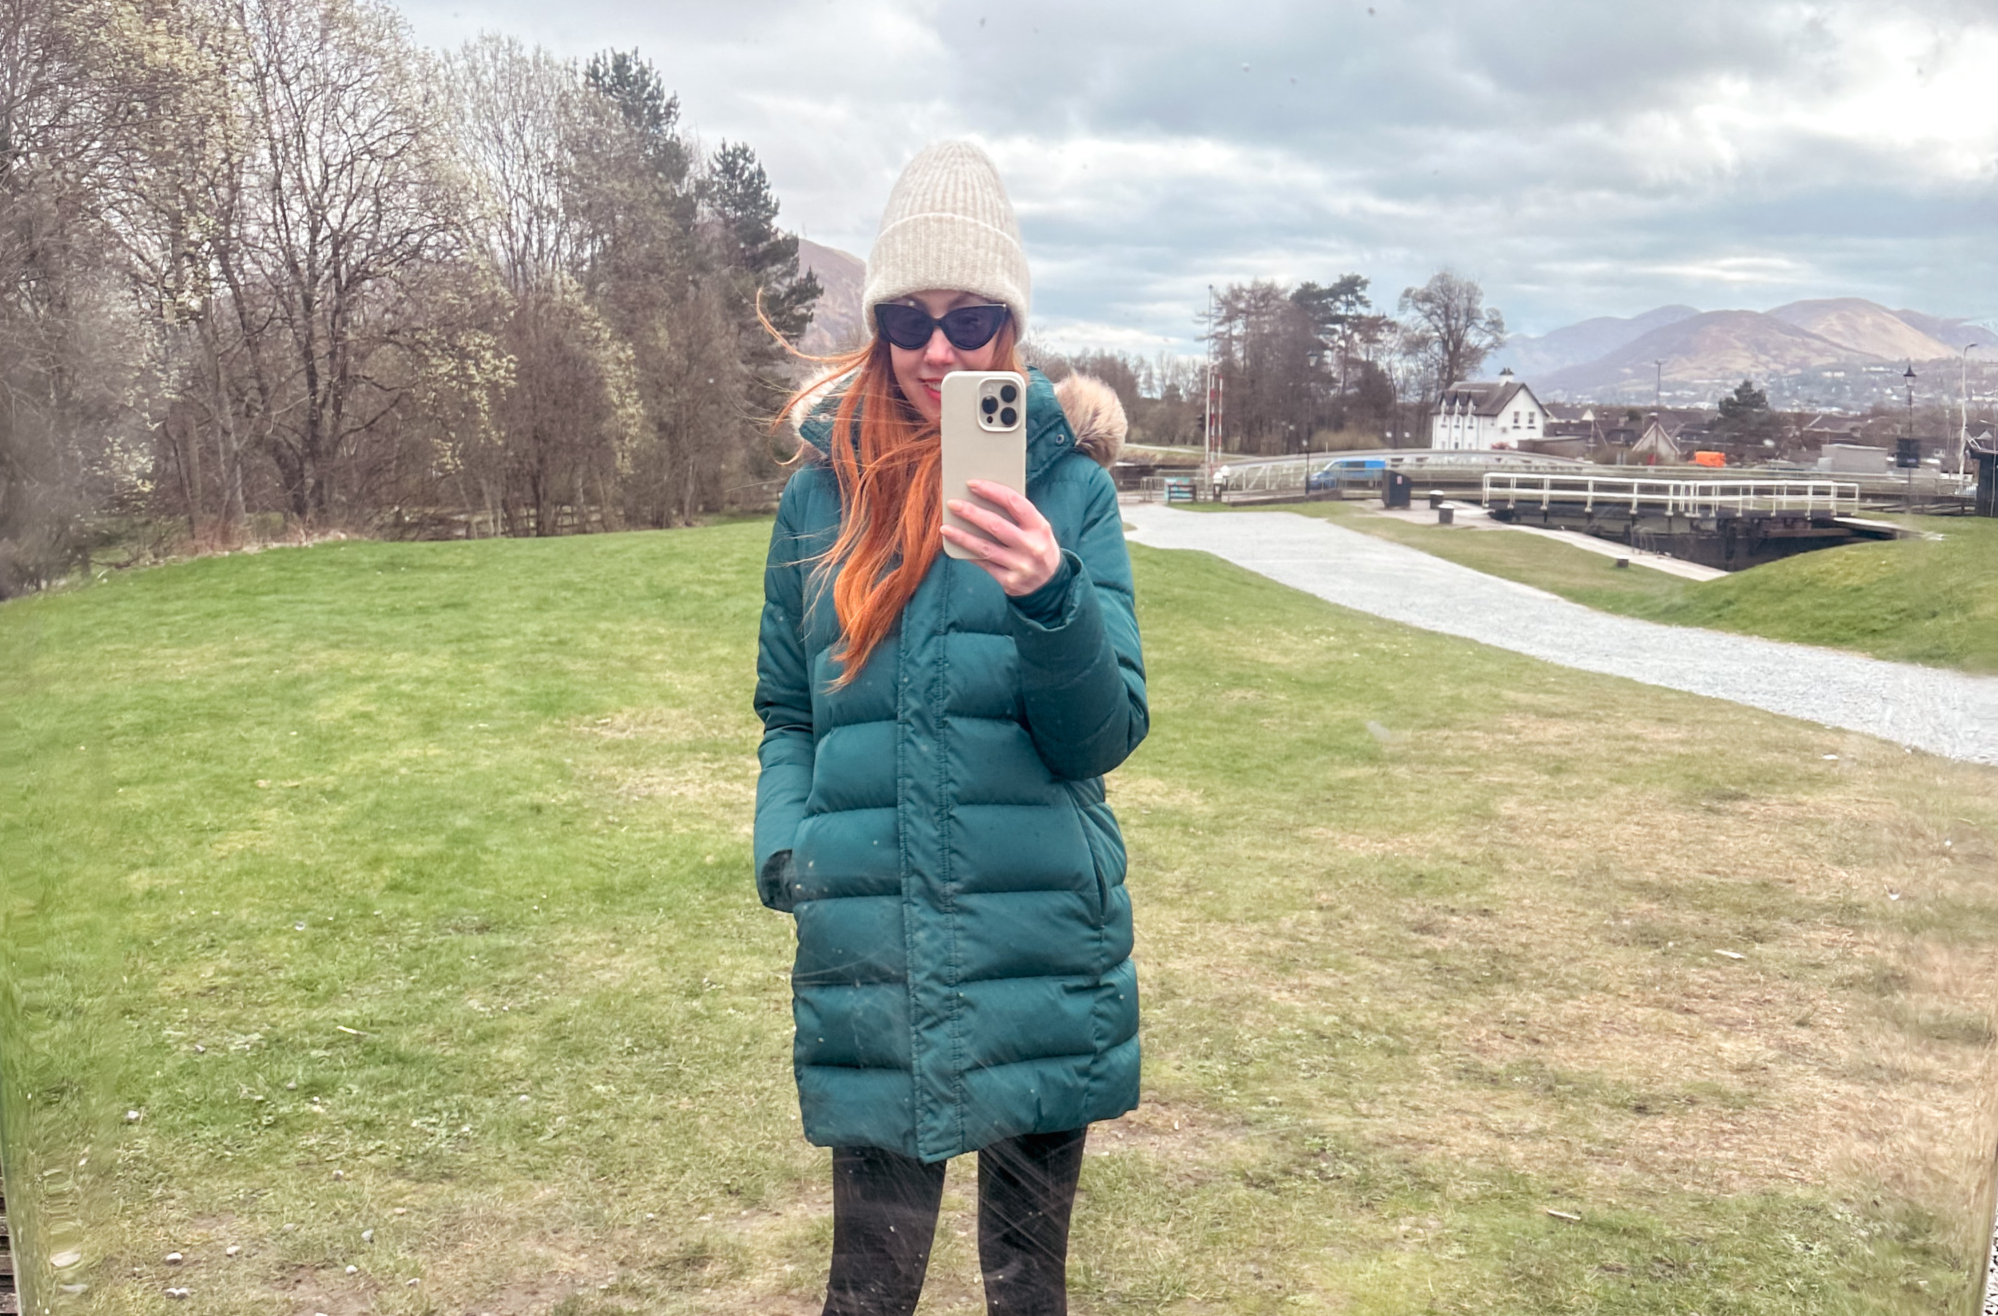
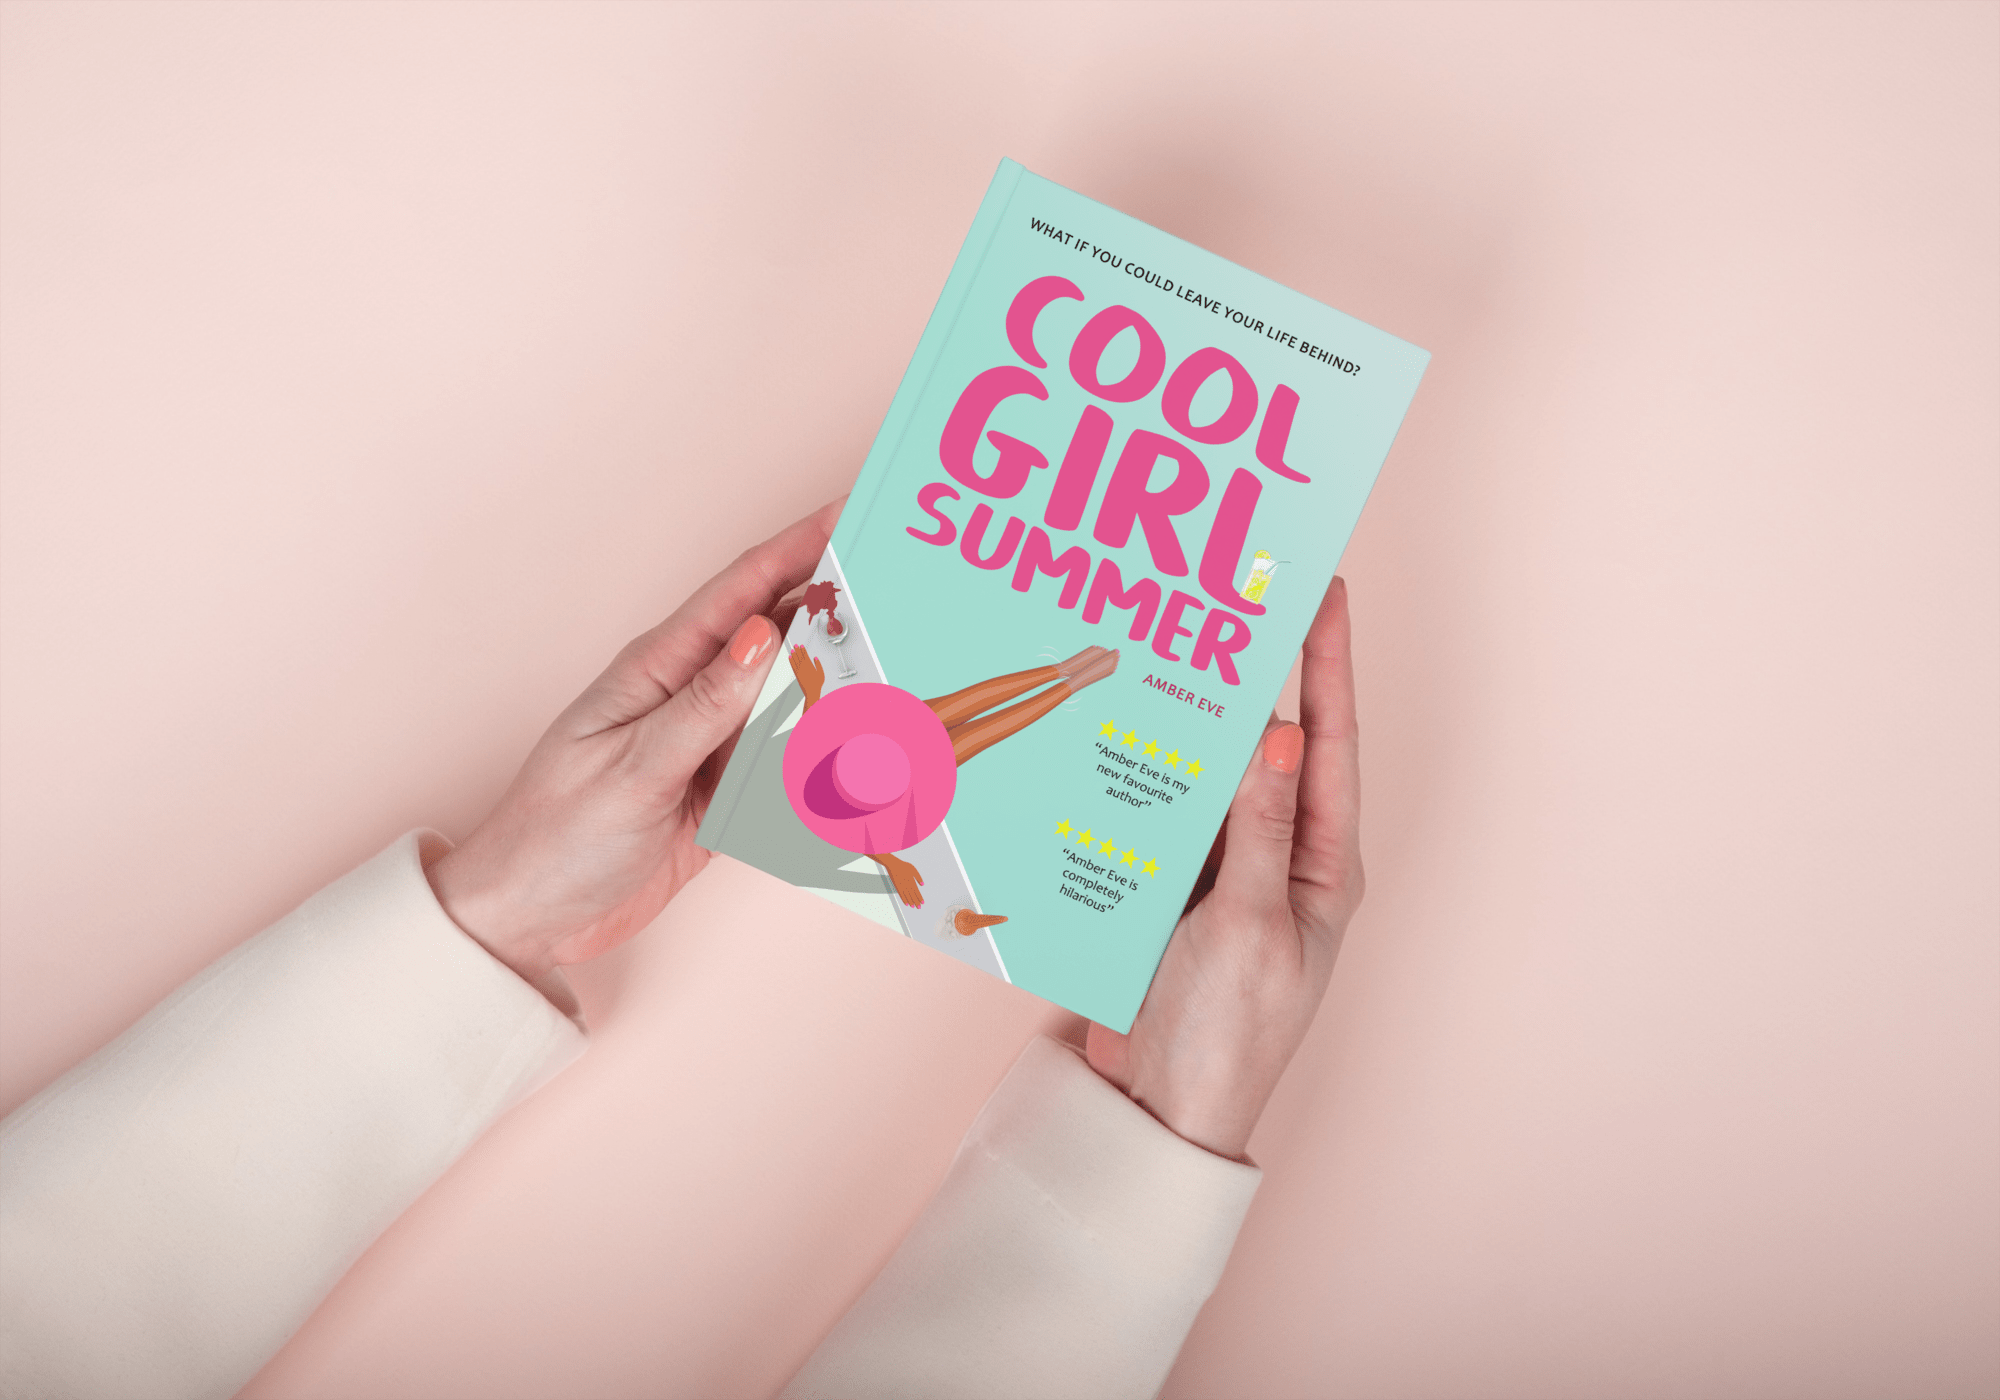
How to Remove Gel Nail Polish at Home
A couple of weeks ago, I published a post on how to apply gel nail polish at home, so today here’s the promised follow-up, on how to remove gel nail polish – which, to be totally honest, is actually harder. Not only is it time-consuming and a bit messy, it can also be pretty rough on your nails – which is why many people choose to have their gel polish removed at a salon. While that’s definitely a great option to consider, though, if you want to try doing it at home, this post will show you how to do it.
As with many things in life, there’s a hard way to do this and a (slightly) easier way to do it. I’m going to show you the hard way first, even although I totally recommend you do it the easy way. There’s also a way to do it which involves me taking decent photos to accompany the post, and a way which involves me taking blurry, one-handed iPhone shots, because my other hand was covered in tinfoil at the time. I’m going to go with the latter option, so without further preamble, here’s what you’ll need to remove your gel nail polish at home…
How to remove gel nail polish at home:
01.
ACETONE REMOVER
The short story of this post is that you remove gel nail polish by soaking it in acetone. As you can see, I have a bottle of Gellux remover, but acetone is the main ingredient in many regular nail polish removers, so one of those should work, too: just don’t, you know, try to use an acetone free one, or that’ll totally defeat the purpose.
02.
LINT FREE PADS
Our old friend, lint free pads: we last met them in my post on how to apply gel polish, and now here they are to help you remove it. And so the circle is complete!
03.
TINFOIL
You’ll use this to create a tinfoil helmet, to protect you against the alien invasion when it comes. Oh, OK, OK: it’s to hold the lint free pads in place. Spoilsport.
04.
AN ORANGE STICK
Or any other implement you can use to gently lift the polish from your nail.
05.
A NAIL FILE
I presume you’re all familiar with nail files, right? Right.
You’re going to be working with acetone here, so before you get started, it’s a good idea to either lay down an old towel, or set up some other area where you’re not going to destroy anything if you spill it. Next, cut the cotton pads into squares large enough to cover each nail, and tear the tinfoil into strips big enough to wrap around a finger:
Next, you’re going to take your nail file, and use it to gently buff the surface of each nail. The aim here to is literally scratch the surface of the gel polish, to make it easier for the acetone to sink in: I also find it helps to clip the ends of the nails, which kind of “opens up” the layers of polish, and lets the acetone in. You might also want to apply some cuticle oil, or another barrier cream at this point: as you can imagine, soaking your nails in acetone won’t just remove the polish, it’ll also really dry out your cuticles, so while the cuticle oil is mostly here to be used once the polish is gone, I like to put some on first, to try to mitigate the damage.
With that done, you simply soak each square in acetone, apply it to the nail, and then wrap the foil around the tip of your finger, to keep the cotton pad in place:
When you’re done, your hand will look like this: wave!
I recommend doing one hand at a time: not only is it fiddly to apply the tinfoil nail helmets when you’re already wearing a set, it’s also hard to do anything with your fingers once they’re in place. If you do both hands simultaneously, I guarantee that the second you finish installing the final “helmet”, you’ll discover you urgently need to do something with your hands. And that’ll be no fun, will it?
Once the acetone is in place, you wait. Most people will tell you to allow the nails to soak for at least 20 minutes. I find it normally takes a little longer than that, especially with glitter polish, which I was wearing here, but once you’ve done it a couple of times, you’ll get to know roughly how long you’ll need to keep the acetone in place. (I’ve heard that heating the remover can help speed up the process, but I’ve never tried, so have no idea if that’s true…) When you remove it, your polish will look something like this:
Nice, huh?
From here, it’s simply a case of using your orange stick to gently lift the polish from the nail. The main thing to remember here is to NOT scrape at the nail, no matter how tempting it is – if you try to scrape it off, it’ll damage the nail underneath, so if you’re having trouble removing, it’s better to re-soak your cotton pads and replace them for a few more minutes. Once you have all the polish off, it’s time to seriously pamper your nails, so feel free to go to town with the cuticle oil, and any other nail treatment you fancy. If you haven’t scraped at them, your nails should be looking reasonably healthy, but you have just been soaking them in acetone, so a bit of pampering doesn’t hurt. As I mentioned in my last post, I like to give them a bit of a rest between gel manicures, rather than just immediately re-applying more polish, but that’s obviously up to you.
So, that was the hard way to remove gel nail polish. There’s also a slightly easier way, which involves buying yourself a box of these:
As you can see, these are ready-made foil wraps: basically, the cotton pad is already stuck to the foil, so all you have to do is soak it in acetone and apply it. I bought this box on eBay for about £1.50 delivered, and while it might seem a bit silly to pay for something you can do yourself, for that kind of price, they’re definitely worth it, and make the whole process that bit easier. They also allow us to go back to using the foil for cooking, rather than for nail polish removal, which is an added benefit.
Chloe
I definitely think the wraps are worth- so much less faffing and so much easier to get everything to stay put. 1 way to speed up the soaking process is to file to rub over the gel polish with a nail file to break up to first layer of gel. I think I saw this as recommended when looking at buying the wraps, and I definitely find it soaks off quicker that way (more like 10-15 mins).
Amber
I actually mentioned that in the post- it’s right after the second image 🙂
Jenny
This is why I stick to regular polish. Of course it means I have to redo it or remove it after a week or less, but this sounds like so much hassle to me. Just a trade off, I suppose. To each her own. 🙂
Leah
heating up acetone does make it easier but it’s also stinky and a bit worrying to me. A cheat is to make yourself a hot drink before you start and wrap your hands around the mug, touching the nail side of your fingers to the mug as often as possible.
Caroline
That’s exactly how I do it too – Glad to see I am doing it right 🙂
http://www.conversationswithcaroline.com
Annie
Even easier: buy a set of those ‘rubber fingers’ from ebay (the ones bank tellers use to count paper money). Put a nail sized wedge of a cotton pad in five suitably sized ones and soak with acetone. Stick fingers in with nails squished up against the soaked pads. Comfortable, reusable, not fiddly and easy to slip off if the phone/door bell rings!
Love the blog.
Katharine in Brussels
Hi Annie, I agree, using tips is much easier than foil, and more environmentally friendly too. I bought a kit from NailMates (NAYY) from the States, and heard that Cuccio will be distributing them as FingerMates in the UK soon (again, NAYY!). Am going to stock up! The other day I was so busy I used them under my winter biking gloves to run an errand (on the bike), and by the time I got to the store the polish was off. LOL the things one does to save time… The heat from my hands might have sped things up too…
Amber, if you use a foam insert with tips you can use less acetone, just a drop or two at most: healthier and cheaper. Also you could try making the foil squares in advance so you’re ready, but the boxed set really, really makes it easier. Plain cotton puffs work instead of the more expensive lint-free wipes: just one cotton ball per hand, torn into tiny bits. HTH 🙂
Gill
GDI Nails shellac UV soak off gel removal wraps are the way to go!
I bought 50 from ebay (the description above is the vendor’s) for under £6. They’re individual sealed sachets, each containing a pad soaked in solvent. They shift gel in less than 5 minutes, make no mess at all and the solvent-soaked pad can be picked out of the sachet and used for clean-ups. I use them twice, first for one hand then the other.
I don’t sell them, just buy them, and have deliberately not put an ebay link in this comment so I don’t look like a spammer. But they are brilliant, inexpensive and I can’t recommend them highly enough.
laurie Walker
Or you can also put your acetone in a nail bowl and just soak. But i have to say prefer the wrap method
Laurie x